The prepper’s survival guide: What you need to know about the Israeli bandage
08/01/2018 / By RJ Jhonson
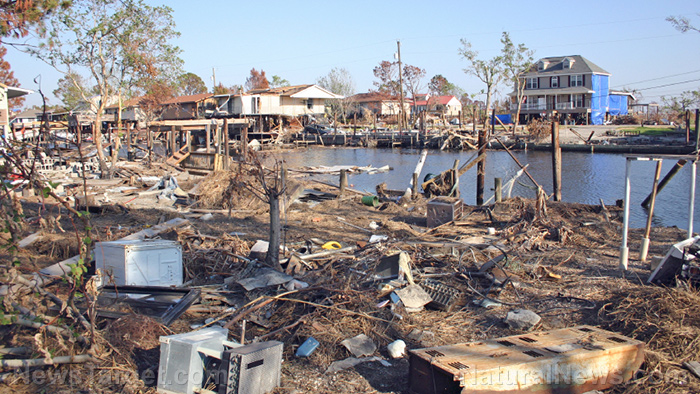
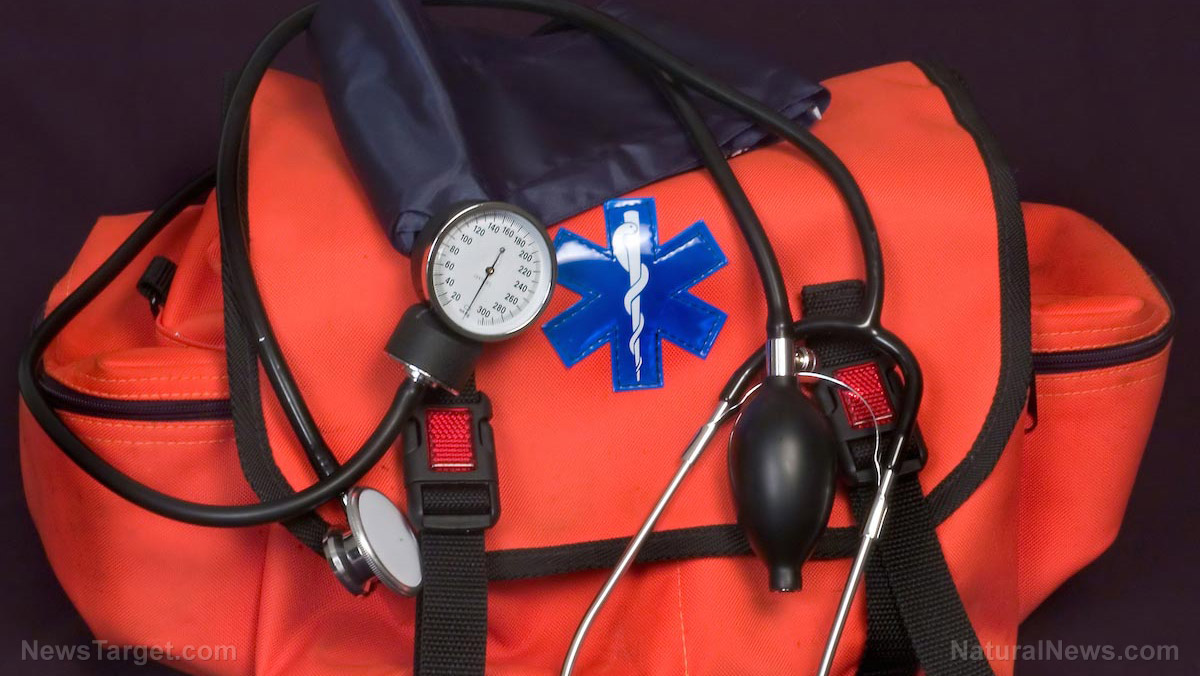
Should SHTF, you may find yourself unable to obtain proper medical treatment for a wound of considerable severity. In such situations, having an Israeli bandage on hand could be the difference between death and survival.
The Israeli bandage, also called the Emergency Bandage, is a special type of bandage used for traumatic injuries. These are physical injuries that are sudden, severe, and require immediate medical attention to ensure survival. Traumatic injuries pose the risk of causing shock, a condition characterized by extremely low blood pressure, among other symptoms. Shock is fatal when left untreated.
The Israeli bandage has three distinct features:
- Sterile non-adhering dressing – The bandage uses a dressing that does not contain adhesives and doesn’t adhere to the skin. This prevents the risk of reopening the wound once the bandage is removed. It’s elasticized to increase the amount of pressure it applies to the wound.
- Pressure applicator – This banana-shaped pressure bar is aligned over the wound to provide pressure and help in stopping the bleeding. This replaces the rocks that soldiers used to apply pressure to wounds before the Israeli bandage was invented.
- Closure bar – This has two functions. Aside from keeping the bandage securely wrapped, it provides additional pressure to the wound.
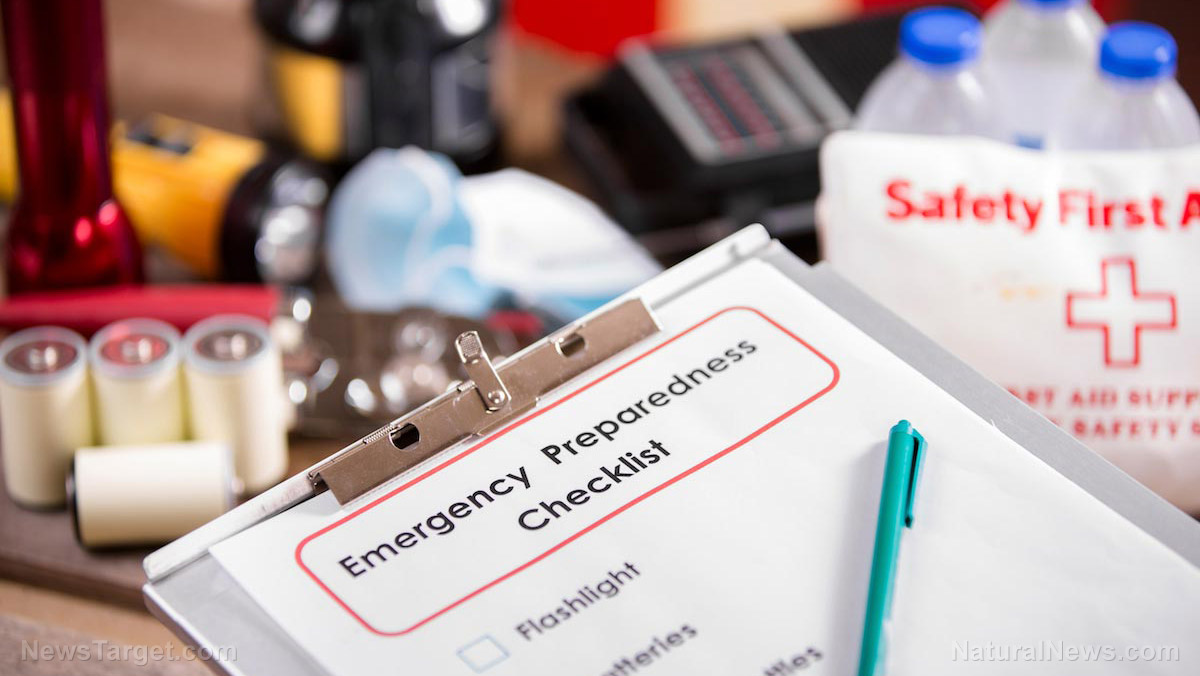
The Israeli bandage was developed by Bernard Bar-natan in Israel in 1984. Through support from the government, the concept was developed and soon manufactured. It hit the market around 1998. Today, the Israeli bandage is standard supply in the military, although it’s also used in emergency medical services (EMS), hospitals, industrial areas, and anywhere where there is a risk of traumatic injuries occurring. You can also purchase the Israeli bandage and add it to your own first aid kits. (Related: Surviving a gunshot wound: What to do if you get shot.)
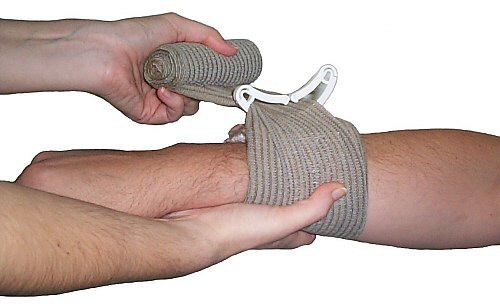
How to use the Israeli bandage
The Israeli bandage is needed in emergency situations, so it’s designed to be easy to use. How you apply it will depend on the injured body part, so basic knowledge of dressing wounds would make the bandage more effective.
- Open the outer package. A corner notch makes it easy to tear and open the package.
- Rip apart the clear wrapping that covers the bandage. As with the outer package, you can easily do this using the center notch.
- Unfold the dressing to expose the bandage. Hold the end with one hand and the “wrap” roll with another.
- Place the bandage applicator over the wound. Make sure the pressure applicator is offset to the side of the injury.
- Wrap the elasticized fabric around the wound. After one revolution, insert the fabric through the pressure applicator and then wrap in the opposite direction. Tighten the fabric around the wound as you go.
- Once you have fully wrapped the wound, insert the end of the closure bar into the wrapped fabric. This should hold the entire bandage in place.
Watch this video for more detailed instructions.
Here are a few things to remember about the Israeli bandage:
- The bandage is considered sterile as long as the package remains closed and its seal unbroken. If you have broken the seal, perhaps by accident, the bandage will no longer be sterile but may still be safe to use as long as you keep it clean.
- Do not attempt to reuse the bandage. If you expect several instances of injuries warranting an Israeli bandage, it’s best to just get another package as a backup instead.
- You can use the bandage for amputated limbs. Use the pad to cover the stump and create a sort of protective cup. Wrap as with other wounds, but twist the last few rolls to turn them into a thin narrow band. This increases pressure and turns the bandage into a tourniquet of sorts to help quell bleeding. Needless to say, nothing beats using a real tourniquet for this purpose.
- You may also use the bandage on burns, but be sure to coat the absorption pad with Burn and Wound (B&W) ointment to seal the injury and prevent infections.
Learn more survival tips on wound care at SurvivalMedicine.news.
Sources include:
Tagged Under: battlefield, bleeding, disaster, dressing wounds, emergency, emergency bandage, emergency first aid, emergency medicine, first aid, injuries, israeli bandage, off grid, preparedness, prepper, prepping, shock, SHTF, survival, survival gear, survivalist, traumatic injury, wound care, wound dressing